Summary:
Connect Landbot + Google Sheets to store leads in real time—map form fields to columns, capture UTMs, and keep data clean without code.
Disclosure:
This post may contain affiliate links. We may earn a commission at no extra cost to you. Read our Affiliate Disclosure.
If you’re new to bots, start here:
- WhatsApp Chatbot No Code: 15-Minute Landbot Tutorial
- Website Chatbot No Code: 15-Minute Landbot Setup
Why connect Landbot to Google Sheets?

- Instant storage: every form submit becomes a row.
- Accessible: teammates can view/edit without a CRM login.
- Flexible: easy exports to CSV/CRM later.
- No code: native integration handles it.
Landbot Google Sheets Setup (Step-by-Step)
1) Prepare your Google Sheet
Create a sheet named Leads with columns (row 1):Timestamp | Name | Email | Use case | Source | UTM Source | UTM Medium | UTM Campaign | Notes
2) Create your bot & variables
Channel: Website or WhatsApp Test.
Create variables: @name, @email, @use_case, @source, @utm_source, @utm_medium, @utm_campaign, @notes.
Tip: Set
@sourcedefault towebsiteor
3) Add the mini form
Ask Name, Email, What do you need today?
Store answers to @name, @email, @use_case.
4) Capture UTMs (optional but recommended)
Add a Get Parameter / query-string capture step for utm_source, utm_medium, utm_campaign → store to the matching variables.
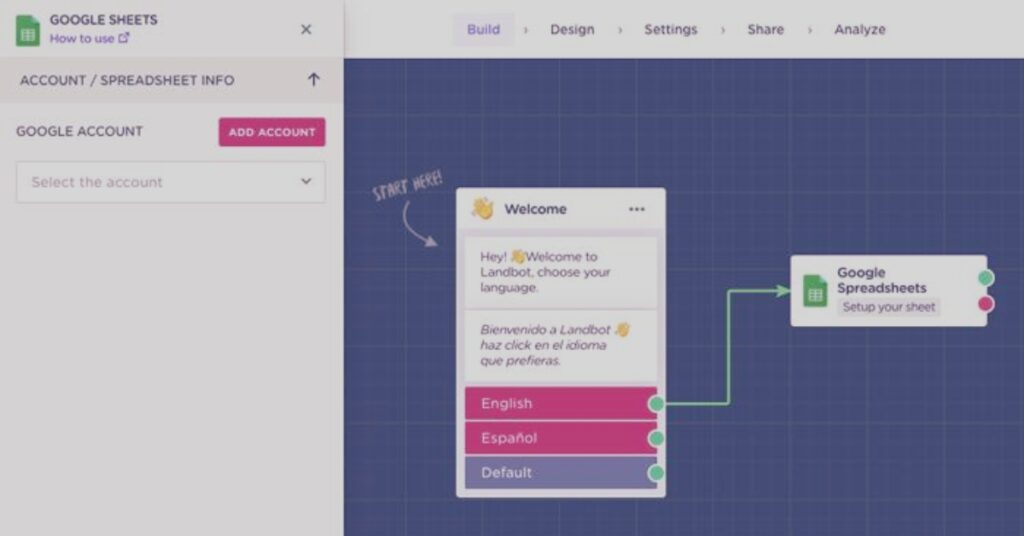
5) Connect Google Sheets (Add Row)
In Integrations → Google Sheets → Add Row:
- Spreadsheet: select your file
- Worksheet:
Leads - Map fields:
- Timestamp →
{{now}} - Name →
@name - Email →
@email - Use case →
@use_case - Source →
@source - UTM Source →
@utm_source - UTM Medium →
@utm_medium - UTM Campaign →
@utm_campaign - Notes →
@notes
- Timestamp →
6) Confirm & notify
After Add Row, send a short Thank you message. (Optional) Trigger a Slack/Email notification for new leads.
7) Test Landbot Google Sheets End-to-End
Open your bot link with UTMs, e.g.:?utm_source=instagram&utm_medium=story&utm_campaign=website_chatbot
Submit the form → verify the row in Sheets.
Reading data back (optional)
For lookups (e.g., order status), use Get Row / Search with a key (email/order ID) and show results in chat. For heavy use or strict SLAs, plan a move to a CRM later.
Troubleshooting
- No row created? Re-check spreadsheet/worksheet selection and field mapping.
- Wrong columns? Ensure row 1 headers match exactly.
- Duplicates? Deduplicate by email in Sheets or check for existing records in CRM before inserting.
- Access error? Re-authorize Google account in the integration panel.
Best practices
- Keep the form short (3 fields).
- Log UTMs for attribution.
- Add a human handoff path for VIP intents.
- Review the sheet weekly; archive to a master tab to keep it tidy.
- When volume grows, sync to HubSpot/CRM (create/update contact).
Landbot Google Sheets FAQs
Yes for early stages and small teams. As volume grows, migrate to a CRM while keeping Sheets as a backup/export.
Use Email as a unique key—either dedupe in Sheets or check against your CRM before inserting.
Only if you add the query-string capture step and pass UTMs in the URL.
Yes. Replace the Add Row step with a HubSpot/Salesforce action or a webhook to your backend.

